DIY Collage Frame?
August 21, 2023 10:20 AM Subscribe
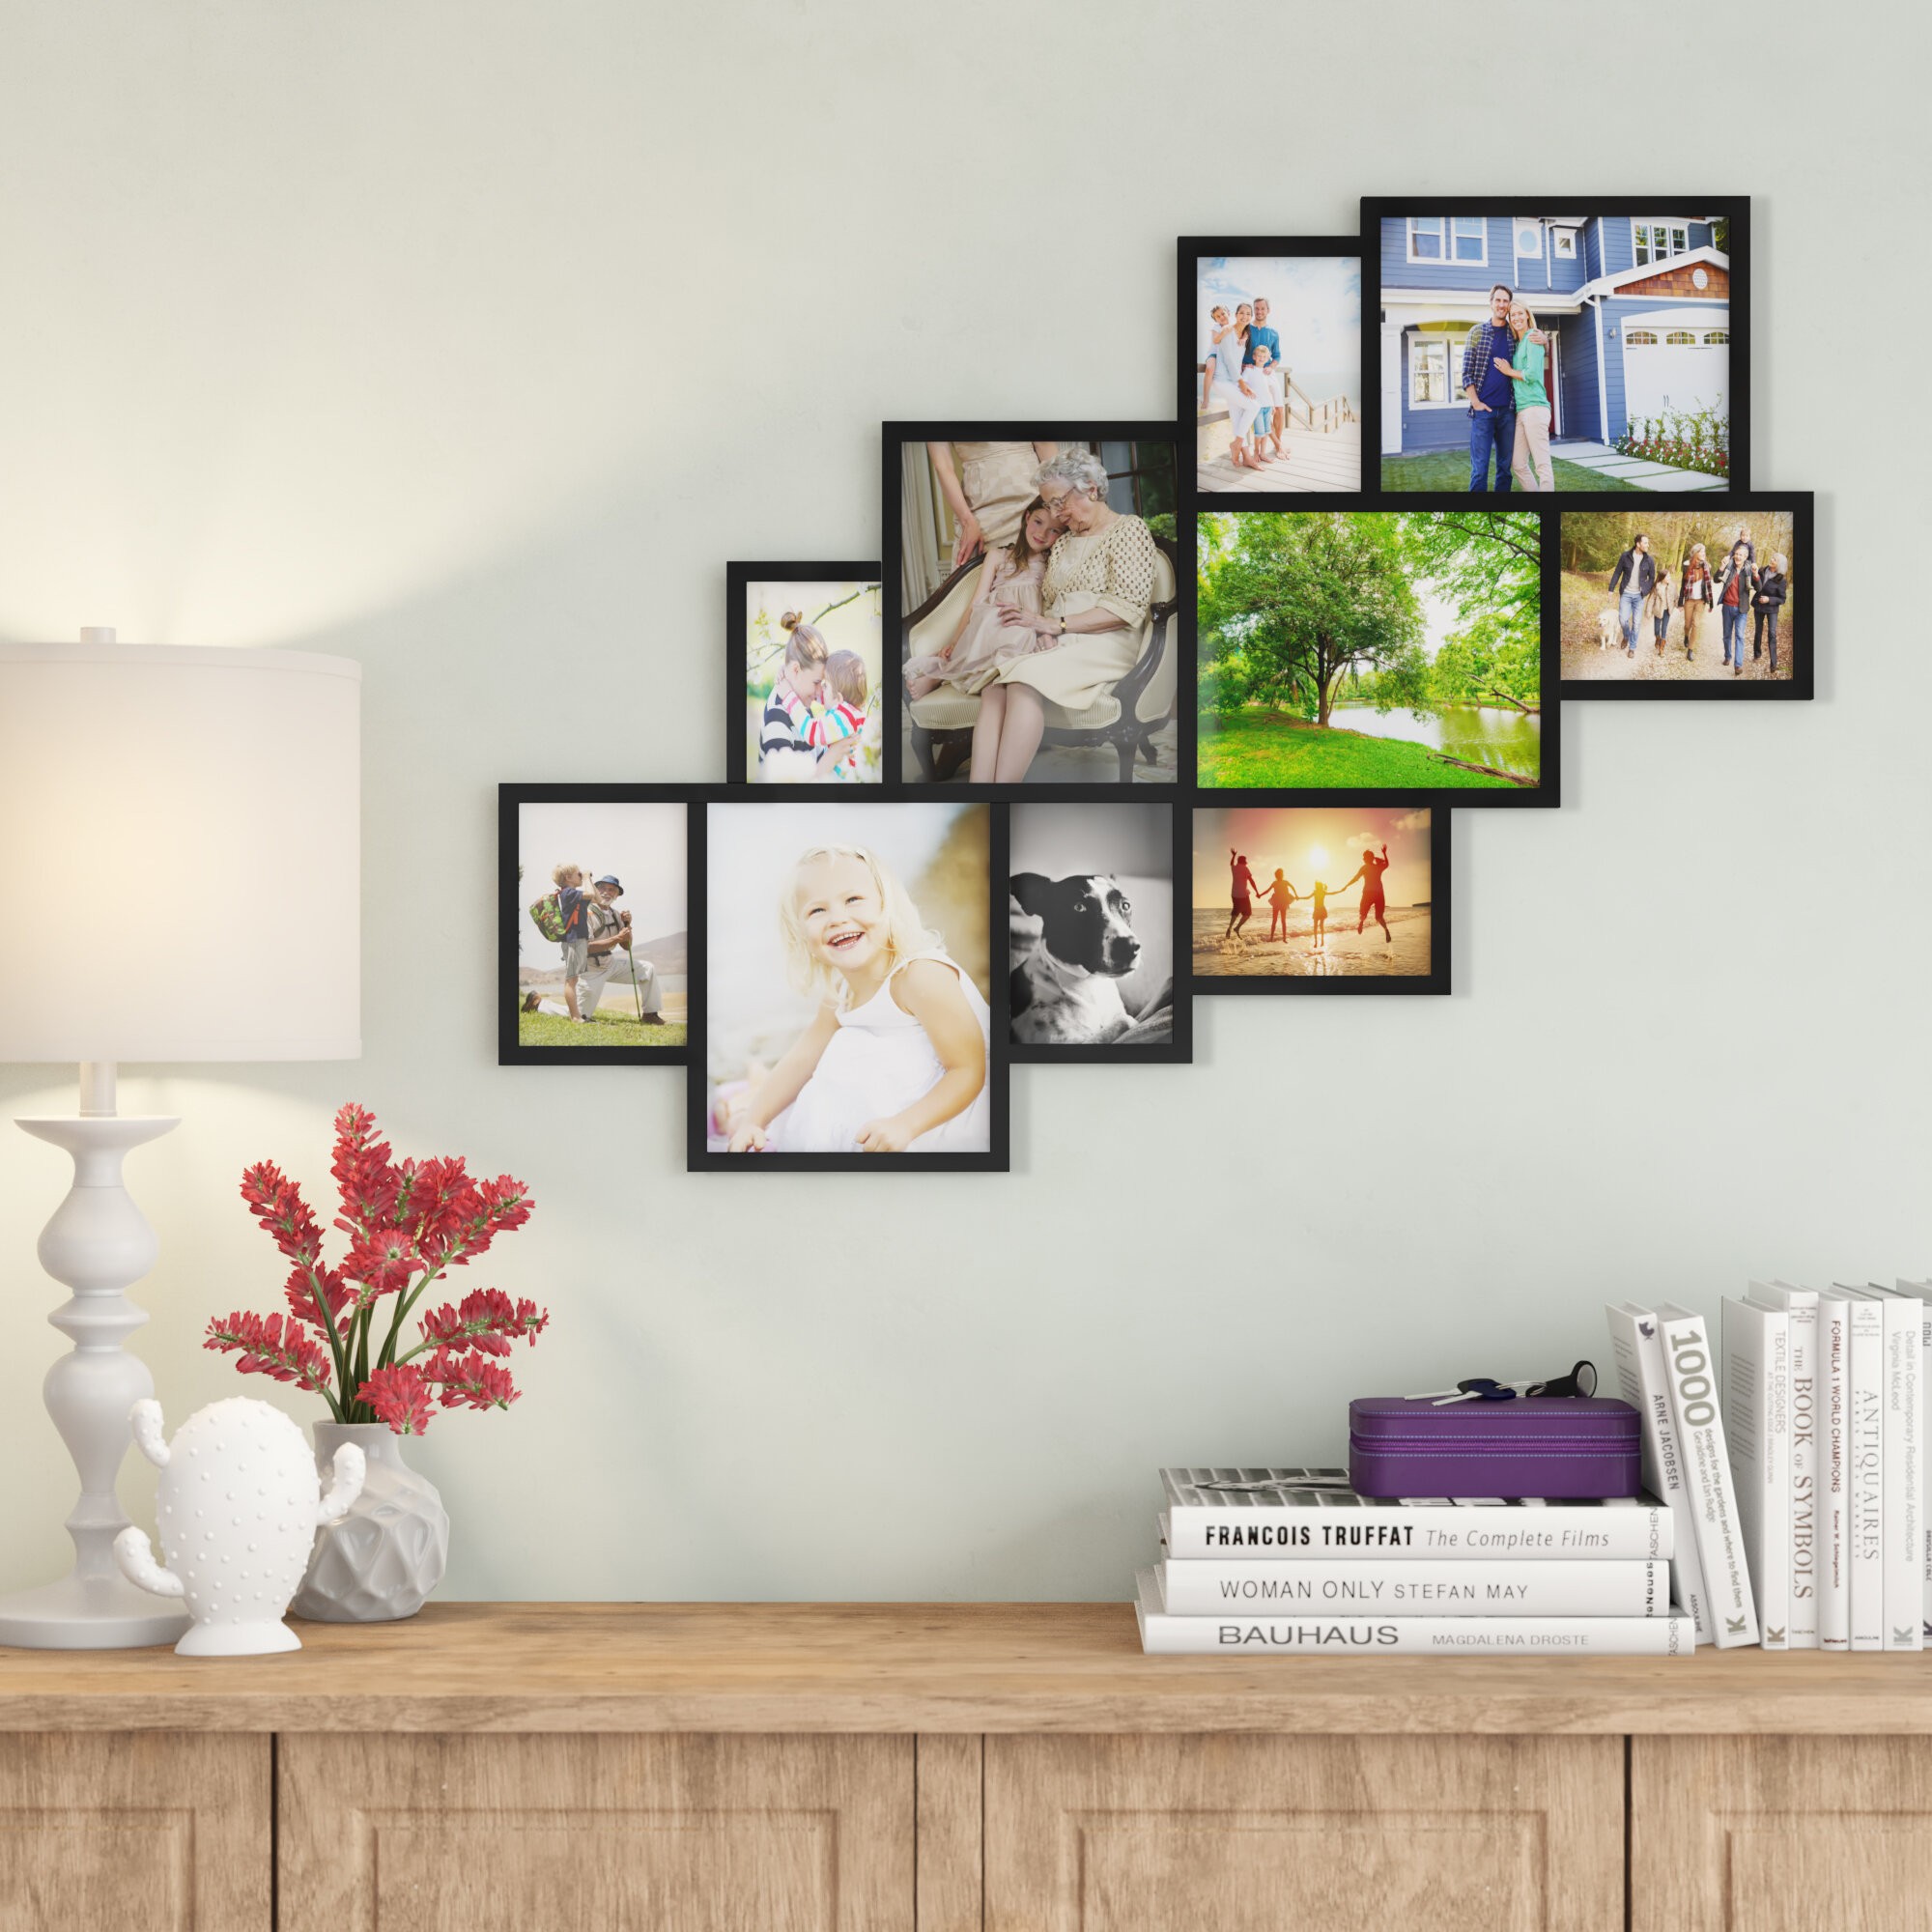
I have an absolute whackload of art pieces that are framed in cheap plain black frames. I want to hang them on my (rented) walls in various gallery walls and was thinking that to minimize the number of holes that need to go in my (rented) walls, maybe I could glue the smaller frames together as a collage frame first and then hang it from one or two holes instead of like 16 holes. Is this plausible? Do you have any advice on how to do it?
Advice that would be helpful: advice on glue or gluing or supporting the whole piece or how to hang the whole piece or general advice that it is a terrible unworkable idea that I should not do, links to tutorials on how to do it.
Advice that would not be helpful: ways to hang the frames individually with or without holes, suggestions to buy a collage frame instead.
Yeah I would put them on a backing board - a single slat as above, or a piece of thin plywood if you want it to be multilayered - and hang the frames on it. You could paint/modpodge paper/spraypaint it first if you wanted! Then hang the backing board, but make sure you're sinking your screws into studs, or at very least use the good drywall anchors (the ones with little wings, not the fat plastic screw ones.)
posted by restless_nomad at 10:52 AM on August 21, 2023
posted by restless_nomad at 10:52 AM on August 21, 2023
I assume these frames are mostly plastic? I would be concerned about gluing things and then hanging it up since the weight distribution might be unpredictable, but I realize screws or nails would not be easy use with plastic. Pegboard or something similar would let you affix each one individually and would allow you to use zip ties to attach the current hook on the back of each frame to the main piece. Painted pegboard looks nice enough, but if you can't handle the holes showing, you could cover any parts that stick out with cardstock.
posted by soelo at 11:46 AM on August 21, 2023
posted by soelo at 11:46 AM on August 21, 2023
i would just use command picture hanging strips for everything, and then no holes or fancy gluing needed!
posted by brainmouse at 11:53 AM on August 21, 2023 [8 favorites]
posted by brainmouse at 11:53 AM on August 21, 2023 [8 favorites]
I once hung an art series using a piece of lattice as a backing. Hang the frames from the lattice, then hang the lattice on the wall. I used lattice because symmetry was important to how I wanted to display these particular pieces, and the regular spacing allowed me to ensure that symmetry.
posted by kevinbelt at 12:00 PM on August 21, 2023
posted by kevinbelt at 12:00 PM on August 21, 2023
I would use epoxy or some other heavy duty glue to put them together. Hot glue from a glue gun is not going to hold. I like the idea of using one backing board - this could look really cool!
I think what I would do is get a piece of thin board to be the backing. Plywood is going to be too heavy; you almost need a sheet of vinyl or something else that will be stiff but light. Figure out how you're going to hang that first, drill a couple holes in it to hold screw eyes and wire. Then, I would paint it. Black will make it all look like one big thing but a contrasting color could be really interesting. Then I would lay the frames out. Once they are arranged to your liking, I'd glue. Leave one side of each frame unglued so you can slide the artwork in and voila, you have a big collagey piece that you can hang from one nail and even swap out art in!
Now I want to do this.
posted by mygothlaundry at 12:16 PM on August 21, 2023
Response by poster: The frames are a mix of plastic and wood. Some of them might even be metal, but it's not really clear. I had originally thought to just glue the frames to each other edge-to-edge into a non-symmetrical array in this vein, but if people think that'll cause weight problems, maybe I need more. I was hoping to avoid blocking off the backs of the frames so that I can still change the art in them later, but maybe that's not possible.
One thought I have is that I will have to pull a bunch of stands off the back of all of these frames and they are made of really compressed chipboard. I was thinking maybe I could glue frames to each other but also glue strips of that between each pair of touching frames in a way that reinforces the side gluing without blocking the backs.
posted by jacquilynne at 12:17 PM on August 21, 2023
Hot melt glue creeps under load, so your frames would eventually fall apart, even if they weren't bent out of shape by the heat of the glue.
I like the lattice idea; you can get nice white plastic lattice from most garden centres for Not Much. Then you can use thin wire hooks (e.g. holiday tree ornament hooks) to dangle the frames from the lattice. Then you can rearrange and change everything at whim.
posted by seanmpuckett at 12:29 PM on August 21, 2023 [1 favorite]
Put up a picture rail, a wood strip with a groove at the top. Hang everything on wire or sturdy fishing line. Old school, and I love how it looks.
posted by theora55 at 12:52 PM on August 21, 2023 [1 favorite]
posted by theora55 at 12:52 PM on August 21, 2023 [1 favorite]
I also came to suggest a picture rail adjacent solution. I would actually hang one curtain rail high up at the ceiling; the holes will be easy to fill eventually. Then hang on fishing wire. I would just get a $15 rod from IKEA instead of this but at least it's an example of the idea.
posted by DarlingBri at 1:06 PM on August 21, 2023 [1 favorite]
posted by DarlingBri at 1:06 PM on August 21, 2023 [1 favorite]
I think you could glue them all together like in your picture if you use epoxy but hanging that assemblage on the wall is going to be rough. I think you would need a minimum of three hanging points to keep it in place or maybe screw it directly to the wall at three points.
posted by mygothlaundry at 1:25 PM on August 21, 2023
posted by mygothlaundry at 1:25 PM on August 21, 2023
1) Attach an attractive board horizontally above where you want the pictures, then hang them from the board individually.
2) Attach some skinny wide shelves where you want the pictures, just use the stands on the frames or lean them back against the wall
#2 will look awesome.
posted by amtho at 3:12 PM on August 21, 2023
2) Attach some skinny wide shelves where you want the pictures, just use the stands on the frames or lean them back against the wall
#2 will look awesome.
posted by amtho at 3:12 PM on August 21, 2023
Epoxy 330 is excellent. They have a 5 minute drying one, but I prefer the longer drying one...Maybe rough up slick plastic surfaces of edge of frame a bit. I would limit it to 5 to ,7 frames per collage... Of course I don't know the sizes of your frames... Sounds like a neat idea. I might also have the frames painted all one color...
posted by Czjewel at 3:49 PM on August 21, 2023
posted by Czjewel at 3:49 PM on August 21, 2023
Put up a picture rail, a wood strip with a groove at the top ...
... hang one curtain rail high up at the ceiling; the holes will be easy to fill eventually. Then hang on fishing wire
I think something along these lines is the best solution. You may want more than one rail/tube to avoid having very long lines that will make the lower frames move around a lot in the breeze, but this has the advantage of not damaging your frames so you'll be able to use them differently in future and making it easy to change artwork in any or all frames or re-arrange them as you want at any time. The gallery set DarlingBri linked is the concept, but I would use the thinnest fishing line so as to not make the lines a feature.
posted by dg at 4:28 PM on August 21, 2023
I would also incorporate negative spaces amongst the frames...More interesting to my eye that the picture you have shown where the frames are tight up against each other... I think that makes the artwork collide and fight with each other. A bit of negative space breathing room would help.
posted by Czjewel at 5:17 PM on August 21, 2023 [1 favorite]
posted by Czjewel at 5:17 PM on August 21, 2023 [1 favorite]
My theory is that when it's eventually time to continue life's voyage, patching 16 holes instead of 2 will be way easier to deal with than dicking around with a big messy bunch of glued-together crap.
posted by ovvl at 8:02 PM on August 21, 2023
posted by ovvl at 8:02 PM on August 21, 2023
« Older Positioning my head after shoulder procedure | History book recommendations for the Camino de... Newer »
This thread is closed to new comments.
I would use a thin wooden slat ( ? batten), for example 1 Inch by 1/4 Inch thick and as long as the collage will be wide. Glue the frames of the top row to this slat to both ensure stability and a straight horizontal line. Place the top row of frames on top of the slat such that the slat remains invisible.
Depending how large the individual frames are, use a slat for each row.
Definitely use a slat for the bottom (last) row.
Before glueing anything arrange it all on the Floor and try what looks best. Only once you are Happy, then glue.
Once it is dry you can mount it to the wall , using the top slat , not an individual picture frame, so the weight is distributed. For example screw two hooks into the top slat.
posted by 15L06 at 10:37 AM on August 21, 2023