Sourdough for dummy beginners?
June 18, 2020 8:40 PM Subscribe
Someone gifted me some of their sourdough starter. It's sitting in my fridge and I have no idea how to turn this into a loaf of bread. Where are the *most basic* instructions for people who are not bakers, who have no idea what they are doing, etc. I really need the *simplest* possible instructions because googling is getting me stuff that is decidedly not simple.
I gather that I need to grow what I have (which is like maybe a tablespoon size right now). And that this process will take a while. And then I can save some of it for the future. In theory I believe that it can sit in my fridge in perpetuity and I just have to spend some days prepping it every time I want to use it. Beyond that I know nothing and I have no formal breadmaking supplies.
There are lots of sourdough-related AskMe posts but I am specifically asking to be pointed to the dummies version of instructions, please.
The King Arthur Flour people have a guide with good instructions and videos that don't assume a lot of knowledge. That assumes you're starting from scratch creating a starter—you can just proceed with feeding the one you already have.
And I just learned today that King Arthur has a hotline where you can call or email in and they'll answer all your questions.
I knew nothing and had no formal supplies and roughly figured it out. The worst case scenario here is pretty much that you make a batch of meh bread and try again.
If you get to the point where you want to get fancier, I like the Tartine Country Bread recipe, but those instructions are written in more complicated fashion than the simple ones King Arthur puts out, so start with the simple ones.
posted by zachlipton at 9:08 PM on June 18, 2020 [3 favorites]
Eh, there are a lot of tips because it's kind of a fun thing to really geek out and make bread that outdoes what you can find on the shelf at a typical supermarket. But if you just want to make some decent bread without consuming yeast, it's pretty easy. (Even easier is to make your first loaf with commercial yeast so you know what it's supposed to look like when you do it with starter.) The only thing that's important is doing everything by weight, since the proportions are pretty important, so you need a scale. Figure out how much starter you have (by weight), and feed it the same weight each in water and flour (any kind). It should more or less double in size in a few hours. Then you can feed it again with the same 1:1:1 ratio. Even if you have only 10g of starter (roughly 1 tablespoon), you only need to feed it twice to get to 90g, which is enough to "harvest" 60g starter for a moderate loaf of no-knead bread. If you want to have bread ready the same day, you'll have to feed the starter more, but the no-knead bread rises overnight so you don't need much.
I rewrote the recipe for my own use: From Jim Lahey via Bittman
Ingredients: 400g (14 oz.) AP flour (unbleached preferred), 10g (~2 tsp.) coarse kosher salt, 60g (2 oz.) starter, at 100% hydration (Can make this with 1g / ~1/4 tsp. dry yeast, adding 30 g (1 oz.) each water and flour to replace what’s in the starter), 335g (1⅓ cup) room-temperature water, Cooking spray and / or gluten-free flour for dusting (I use Maseca brand tortilla mix, which is finely ground corn, but cornmeal, wheat bran, or plain flour will work in a pinch.)
Preparation: Mix flour and salt in stand mixer with the paddle beater until more or less combined. Add liquids and mix until just combined. Scrape down sides of bowl, cover with plastic wrap, and let rise on the counter for 14-20 hours.
4 hours before you want to serve the bread, prepare a large bowl with cooking spray and/or gluten-free flour. Scrape the dough into the bowl and dust the top with more gluten-free flour. This will be the bottom of the loaf so you can use more, the dough is really sticky. Shape with the scraper as needed, cover again, let rise for 2 hours. 2 hours before serving, preheat a large covered dutch oven at 450F / 230C. 90 minutes before, pour the dough into the dutch oven. Cover, reduce the heat to 425F / 220C, and bake for 30 minutes. Uncover, and bake for another 15-30 minutes. Remove when deep golden brown and let cool.
posted by wnissen at 10:36 PM on June 18, 2020
When I give people starter I usually give them these notes. The brand names are local to my country but don't worry about that.
posted by i_am_joe's_spleen at 11:59 PM on June 18, 2020
posted by i_am_joe's_spleen at 11:59 PM on June 18, 2020
I'm definitely in the "don't overthink it" crowd. I was interested put off doing one for a long time but once yeast ran out and I still wanted to continue our pandemic tradition of Pizza Fridays, I had motivation I didn't have before. I work with way lower amounts than seems to be common (usually like half a cup in total) so it doesn't get so I have to worry about what to do with the half I scoop out each day and just feed mine more or less once a day (I scoop out half but instead of using it in something right away I put it in a jar in the fridge, which I pull out when I want to supplement my small amount, split it into two and feed both) and and get at least a few personal pizzas a week out of it with just my active one and sometimes will arrange things with my fridge stash so I can do a couple of boules of bread.
Sometimes I forget to feed it for a couple of days and it's fine. Sometimes my starter isn't in an optimal state for baking bread and I do it anyway and it's fine. As long as you kind of feed it regularly (and put it in the fridge when you're feeling lazy about it) and it doesn't go moldy - you're fine!
posted by urbanlenny at 2:25 AM on June 19, 2020
Unbeknownst to each other, a friend and I had been following the America’s Test Kitchen recipe for sourdough bread and consistently getting a flat blob of bread. Our luck changed when we switched to this recipe. The baker has a few videos showing you exactly how to do the folds and stretching, which helped me feel like I was at least doing it right. Her instructions are also overly detailed...I’ve streamlined it in my recipe app, but great to have as a newbie.
posted by icaicaer at 5:42 AM on June 19, 2020
posted by icaicaer at 5:42 AM on June 19, 2020
I won't call this "foolproof" because there are so many variables that a new baker has to keep track of and discover for themselves, but here is the schedule and steps I've made for myself for a single small loaf.
Activating your starter (Between 6-9 pm on the night before you want to bake)
Phase 1
posted by jeremias at 5:43 AM on June 19, 2020
Activating your starter (Between 6-9 pm on the night before you want to bake)
- If your starter is in the fridge, take it out, stir it around and then discard everything except two or three tablespoons.
- Add 200 grams flour and 160 grams of water and stir really well. (I use chopsticks to break apart the dry parts). Make sure your container is big enough to double what's inside. I use a glass mason jar.
- Leave the jar somewhere warm, definitely do not put it back in the fridge.
Phase 1
- Get a big bowl and add 247 grams of warm water (80 degrees Fahrenheit)
- Add 100 grams of your (hopefully activated) starter to the bowl and stir it around until completely dissolved.
- Add 375 grams of flour. (If you have it, you could do a mix of 300 grams bread flour and 75 grams of rye or whole wheat.)
- Add 10 grams of salt
- Knead it until there are no more dry patches. The dough will be super sticky if you're doing it by hand, so be prepared (or use a mixer)
- When finished, cover the bowl and place it somewhere warm for two hours. I like to use my oven with the light on.
- Remove your dough and do a series of 12 coil folds.
- After the 12th fold, try to get your dough into as tight of a ball as possible. This step gets easier with practice, but to begin with, just try putting your dough on a lightly floured cutting board and make a tight ball, try to tuck the edges of the dough together.
- Put the dough back into the bowl and cover it well, a slightly damp cloth will work here. Then put bowl back into the warm safe place for 4-5 hours.
- Take your bowl of dough out and gently remove the dough. At this point it should be puffy and easy to work with, but you want to be careful here. There's a lot of gas inside the dough and handling it roughly will cause it to deflate.
- Now you're going to shape the dough, so gently fold into a loose rectangle and then starting with the "south" side, pull that side up and over until it touches the "north" side. Then go to the "west" side and pull it over to the "east" side. It's ok to stretch and pull the dough here, just be careful of pushing down. Go to the "north" side and pull down the edge to the "south" side. And then one more: take the "east" side and pull it up and over until it touches the edge of the "west" side.
- At this point many people will put this into a floured banneton of some sort. These are super helpful and I recommend getting one, but if you don't have it, you can put the dough into a clean bowl that has been greased (If you have cooking spray that will work). Whichever method you use, you want to put the seam side up because eventually you're going to tip your container upside down and you want those seams to be on the bottom when that happens.
- Let the dough rest for two hours or so. This is the last proofing stage before baking.
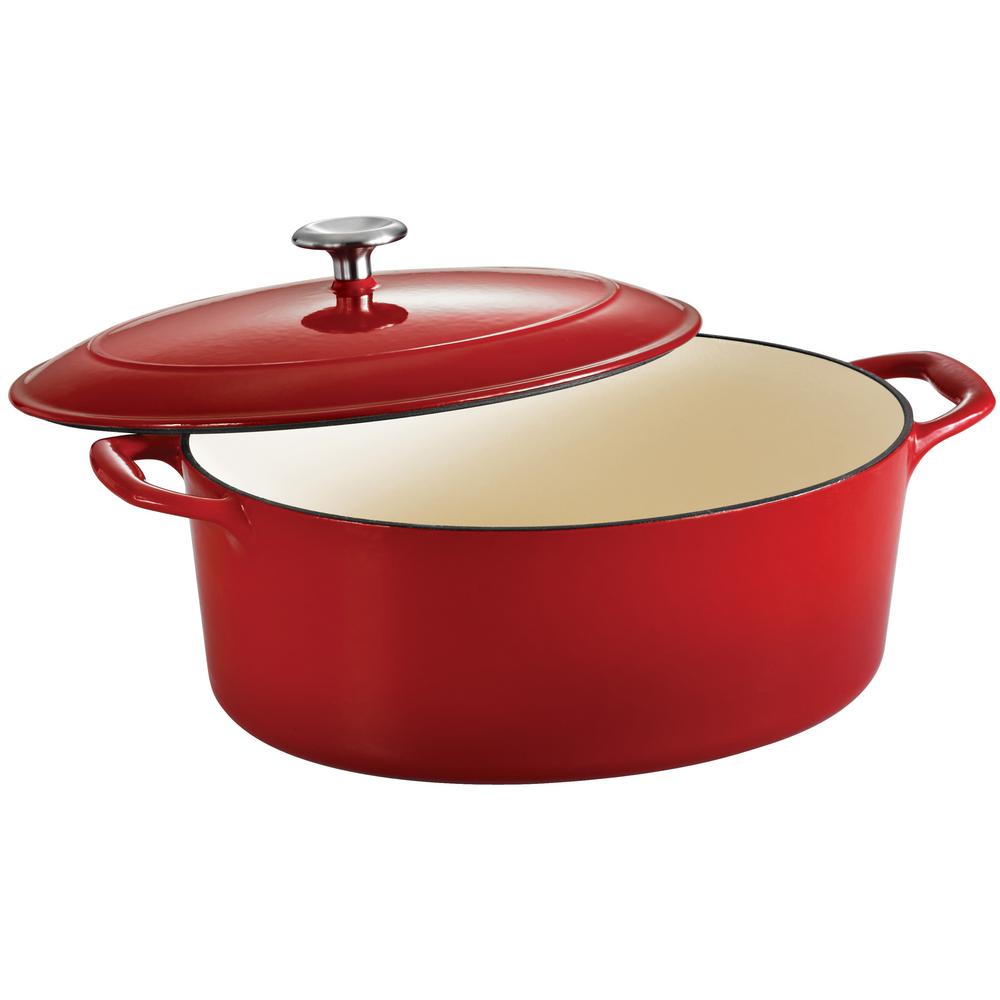
- For this next part, the vessel you're going to be baking in makes a difference. Not knowing what you have, I'll just assume you have some sort of oven safe dutch oven with a cover, like this.
- If your dough is proofing in the oven, take it out! Because now you're going to preheat to 475 degrees and you don't want a disaster on your hands.
- Preheat 30-60 minutes with the dutch oven inside your real oven.
- After the preheat is complete, gently flip your dough out of the bowl/banneton, upside down so the seams are now on your surface. Now you need to score the dough. Using a razor blade, gently make a long cut from one end to the other.
- This next part can be tricky too, it's the transfer of the dough to the dutch oven. Lots of folks use a pizza peel to do this. i have a pair of silicon oven gloves that work well also. Try to avoid dropping the dough in from a high height, because that will cause the gas to deflate. In the previous step, some people will also put the dough onto parchment paper and use that as a way to transfer the dough to the dutch oven.
- Put the dutch oven in with the cover on and leave for 20 minutes
- After 20 minutes, remove the cover. Turn down the temperature to 425 and bake for another 20 minutes, but do start checking your bread during this stage and trust your instincts. When it looks nice and brown it's probably ready.
- Remove the dutch oven and tip the bread out (hopefully its not sticking) onto a cooling rack. Avoid the temptation to cut into it for at least one hour
- Enjoy your bread!
posted by jeremias at 5:43 AM on June 19, 2020
I was in this same position a couple of months ago. Like other posters, I went with the King Arthur instructions and my loaves have all been pretty good. They do recommend that beginners use their other recipe that uses some commercial yeast, but I didn't (since I couldn't buy yeast at the time) and it was fine.
posted by rhamphorhynchus at 5:44 AM on June 19, 2020 [1 favorite]
posted by rhamphorhynchus at 5:44 AM on June 19, 2020 [1 favorite]
Best answer: My first successful loaf came from Homestead and ChillIt does most of the “bulk fermenting” overnight and she includes short videos on her slap and fold and stretch and fold techniques.
posted by kimberussell at 6:01 AM on June 19, 2020 [1 favorite]
posted by kimberussell at 6:01 AM on June 19, 2020 [1 favorite]
I have a paper recipe from a friend that is quite simple. If you'd like a copy, feel free to memail me an address to send a picture. Happy baking!
posted by ferret branca at 6:35 AM on June 19, 2020 [1 favorite]
posted by ferret branca at 6:35 AM on June 19, 2020 [1 favorite]
I take my starter from the fridge, add 2 cups flour and 1 cup tap water, and let it sit under plastic wrap or some other cover in a bowl overnight. In the morning I take less than 1/4 cup of that and stick it in the fridge again for next time. I usually make my bread in a bread machine or a loaf pan, in which case I add flour in the amount that will not overflow the pan and some salt (for one loaf, probably 1 t or so). I get the amount of flour by looking at another recipe for that size pan and subtracting 2 cups. After adding in the flour, I can check if it needs more water to make a good dough, while I knead it. This is then left for a couple of hours in an oiled bowl, covered with plastic wrap or a damp kitchen towel. After it has risen, I form a loaf, and let it rise again, then bake at 425 F.
You can add oil, sugar, and powdered milk when you add the flour if you want. If you make free-form loaves, there's no need to measure at all, just get flour and water in there to make a dough and let it sit until it rises, shape it and rise again.
It's good to get it out and fed at least every week, so I make pancakes if I'm not planning any bread. For that, I take the starter from the fridge, add 2 cups flour and 2 cups water, let it sit overnight, remove a bit to go back to the fridge, add 2 eggs, 3T sugar, 3T oil, and cook in an oiled pan or griddle. These are thin, Swedish-style, pancakes.
I never discard any starter.
posted by SandiBeech at 7:41 AM on June 19, 2020 [1 favorite]
I have been using this recipe, and what was helpful to me at the start was the timeline aspect of it like jermias posted above. I live in san diego which is pretty warm so i had to adjust heavily on the "let rest for 9-12 hours, depending on ambient temperature" directions. Due to timing it actually worked out easier and better to put it in the fridge instead, let it rise more slowly there and it gave me more wiggle room on how long i could let it rise because it was going slower.
posted by escher at 8:44 AM on June 19, 2020 [1 favorite]
posted by escher at 8:44 AM on June 19, 2020 [1 favorite]
If the recipe calls for special proofing baskets and a lame (special knife), move on. Such recipes will be complicated and not for beginners. I like the King Arthur recipe linked above.
Sourdough is yeast in flour and water. Some sourdough yeasts are not as fast as commercial yeasts for making bread rise. Bread-making has a number of variables, but people have been doing it successfully all over the world since pretty much forever. White flour will be more forgiving for a beginner, bleached or unbleached is fine, whatever you have. I have used my Dutch oven or free-form on a baking sheet.
You can use google to convert grams to cups. In my experience, the typical newb error is underbaking bread. I just made sourdough ciabatta, got distracted and it seemed overbaked on the very dark bottom. The bottom crust was crunchy and the bread was delicious. If you have parchment paper or silicone liners, use that.
posted by theora55 at 9:21 AM on June 19, 2020
I maintain sourdough, and this is what I'd do:
1. Move your sourdough starter to your kitchen countertop. It will live there for awhile, so give it a covered container (glass or plastic) that will give it room to grow.
2. For the next two days, add 1 Tbls. flour and 1 Tbls. water to the starter. Mix, cover and let it rest. I use a rubber band at the top of the starter so I can easily tell if it's taller than it was before. It will bubble up a bit overnight.
3. On the third and fourth day, add 2 Tbls. each of flour and water. Mix and let rest.
4. On the fifth and sixth day, add 1/2 cup each of flour and water. Mix and let rest.
5. On day seven and beyond, add 1 cup each of flour and water. Mix and let rest. Now you can start to use it. When you take starter out, just add a similar amount each of flour and water, mix and let rest.
6. If you will be gone for several days at a time, put it in the refrigerator. When you return, take it out and let it return to room temperature before you start feeding it again.
I've met a lot of people who have trouble keeping sourdough. I think it's because they have to make a point to think about feeding it regularly. I've just added it to my breakfast routine and do it as I clean up from breakfast.
Enjoy it! I'm currently expanding my sourdough to two jars so I can serve the neighborhood sourdough Belgian waffles next week!
posted by summerstorm at 11:27 AM on June 19, 2020
Sourdough is hard! I'm done with it for now, as I killed my starter. I did make some reasonably successful loaves. I think you just have to fail, and fail, and fail and learn it the hard way. The failures will generally be edible anyhow.
I don't know if this will help you but after reading many sites and being really frustrated with all the complexity, I settled on following these instructions here:
https://www.theperfectloaf.com/simple-weekday-sourdough-bread/
I didn't follow the schedule even close to exactly. I just adhered to the rising times. Also, I completely ignored what was said about temperature, because who measures the temperature of the air surrounding their bread dough???
posted by kitcat at 11:56 AM on June 19, 2020
Google the sourdough starter "pineapple juice" hack. It seemed the easiest route when I was in your shoes some years ago, and it worked.
And seconding sourdough waffles. They are reason enough to go down the sourdough road. They are positively transcendent.
posted by CheesesOfBrazil at 2:58 PM on June 19, 2020
And seconding sourdough waffles. They are reason enough to go down the sourdough road. They are positively transcendent.
posted by CheesesOfBrazil at 2:58 PM on June 19, 2020
As well as instructions, you need stuff.
Almost all of it is "cheap" . Beyond ingredients of flour and water....
Essential
Oven
Digital Scale that weighs grams, that can weigh 1 or 2kg. PLEASE USE A SCALE. They are like 10$. There is no better way to systematically get your baking better - or make a better start at baking! - that be able to know precisely how much ingredients you are using and have used.
Almost essential, in order of importance
A pot to bake in that will trap steam and can handle high temps. This is the single biggest determinant of whether you will get good "crusty" loaves or not, IN AN EASY MANNER. There are all kinds of ways to get steam into an oven that can't make steam, using baking stones, folded towels, pans of water etc, bust most are difficulty, dangerous, not reproducible or can damage expensive ovens.
People recommend enamelled dutch ovens (le creuset or knockoffs) if you have one (make sure your dutch oven has a handle that can deal with high temps!). I started with one like that..... but this cheap pot changed my baking life : Lodge Combo cooker. $40. Ask me why later....
Bench scraper/knife. $10 - makes tossing dough around and shaping dough easy
Parchment paper.
GOOD oven gloves or mitts. (You will be dealing with hot things)
Nice to have to Luxury
Digital probe thermometer. Measure water and dough temp as well as test for done-ness. Thermapen are good, but Knockoffs on amazon are $20
Ideally scale that weighs 0.05g resolution for small amounts of salt/yeast/additives. These are $15.
Lame, proofing basket, other gizmos
--
good luck!
posted by lalochezia at 8:09 PM on June 19, 2020
« Older Sensory compression clothes for kids | I Need to move .m4a files from Audio Recorder App... Newer »
This thread is closed to new comments.
Some tips to get you started.
Feeding your starter.
Basic sourdough recipe.
posted by jenquat at 9:02 PM on June 18, 2020 [3 favorites]